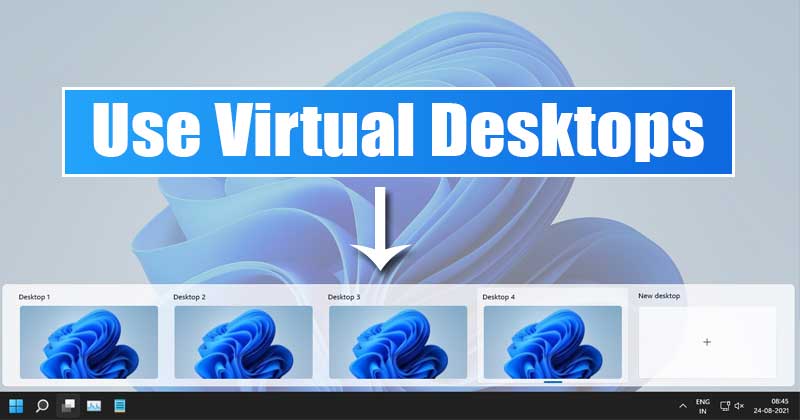
Windows 11 offers a powerful feature called Virtual Desktops, allowing users to create multiple desktop environments on the same PC. This helps improve productivity by organizing tasks, apps, and workflows into separate workspaces. This article explains how to use virtual desktops in Windows 11 thoroughly, with practical steps and tips based on current information and my personal experience.
What Are Virtual Desktops?
Virtual desktops are separate desktop screens you can switch between without closing your apps. Each desktop can hold different windows and applications, helping you stay organized when multitasking.
Step 1: Access the Virtual Desktops Interface
To manage virtual desktops:
- Click the Task View button on the taskbar (looks like two overlapping rectangles).
- Alternatively, press Windows + Tab on your keyboard.
The screen will display all open windows and your virtual desktops at the top.
Step 2: Create a New Virtual Desktop
To create a new virtual desktop:
- In Task View, click New desktop at the top-left corner.
- A new desktop thumbnail appears, usually labeled Desktop 2, Desktop 3, etc.
You can create multiple desktops for different projects or tasks.
Step 3: Switch Between Virtual Desktops
To switch desktops:
- Open Task View and click the desktop you want to switch to.
- Or use keyboard shortcuts:
- Windows + Ctrl + Right Arrow to move to the next desktop.
- Windows + Ctrl + Left Arrow to move to the previous desktop.
Switching is seamless and maintains your open apps on each desktop.
Step 4: Move Apps Between Virtual Desktops
You can move open windows from one desktop to another:
- Open Task View.
- Right-click the window you want to move.
- Select Move to and choose the target desktop.
- Alternatively, drag the window thumbnail to the desktop where you want it.
This helps group related apps and workflows together.
Step 5: Rename Virtual Desktops
For easier identification:
- In Task View, right-click on a desktop thumbnail.
- Select Rename.
- Enter a descriptive name like Work, Gaming, or Research.
Named desktops help you remember their purpose.
Step 6: Close Virtual Desktops
To close a virtual desktop:
- Open Task View.
- Click the X button on the desktop thumbnail you want to close.
- Any open apps on that desktop will move to the previous desktop.
Closing desktops cleans up your workspace but keeps your apps accessible.
Step 7: Customize Virtual Desktop Settings
Windows 11 offers customization options for virtual desktops:
- Open Settings > System > Multitasking > Virtual desktops.
- Choose between showing the taskbar buttons on all desktops or only on the desktop where the window is open.
- Select if the wallpaper changes with each desktop or stays the same.
Adjust these settings to match your workflow preferences.
Step 8: Use Virtual Desktops with Snap Layouts
Windows 11’s Snap Layouts work well with virtual desktops:
- Arrange apps side-by-side or in grids on each desktop.
- This boosts productivity by organizing windows efficiently within each virtual desktop.
From personal use, combining virtual desktops with snap layouts has improved task management significantly.
Step 9: Use Virtual Desktops on Multiple Monitors
If you have multiple monitors:
- Virtual desktops extend across all monitors.
- Switching desktops affects all screens simultaneously.
- You can drag windows between monitors within a desktop.
This helps when managing multiple projects or workflows on extended displays.
Common Issues and Solutions
- Virtual desktops missing or task view not working:
Ensure Task View is enabled by right-clicking the taskbar and selecting Show Task View button. - Keyboard shortcuts not working:
Check if keyboard shortcuts are disabled in Settings or if other software is overriding them. - Apps not moving between desktops:
Some apps or games may not support multi-desktop environments properly.
Conclusion
Virtual desktops in Windows 11 offer a straightforward way to organize your digital workspace. By creating, naming, and managing multiple desktops, you can improve focus and productivity. Combining virtual desktops with other Windows 11 multitasking tools like Snap Layouts maximizes efficiency. Use the steps provided here to start using virtual desktops effectively today.

