The Windows 7 operating system by Microsoft was released back in 2009. Windows 7 was the successor to Windows Vista and was a widely welcomed Windows release after the issues that Windows Vista had.
Despite the huge criticism received by Windows Vista, the Windows 7 operating system overtook Windows XP to become the most used Windows version.
Even though Windows 8, Windows 8.1, and Windows 10 versions have released since then, the Windows 7 operating system is still considered one of the best Windows versions ever created.
If you are interested in installing the Windows 7 operating system on your computer, then the best and easiest way to do so is by choosing to install Windows 7 from USB.
To help you out, we are here with a detailed article on how to install Windows 7 from USB Drive easily.

Before You Install Windows 7 From USB
Before you go ahead and copy Windows 7 ISO to USB and install the same, below are some prerequisites to follow.
- Create a Backup of Data: To make sure that none of the data is deleted from your computer while installing the Windows 7 ISO file, create a secondary storage backup of the existing data on your computer.
- Get Hold of a USB Drive: As we will be installing Windows 7 by copying Windows 7 ISO to USB, you will need to have a USB drive in hand before proceeding with the steps below. The USB drive should have at least 8GB of free storage space.
- Download Windows 7 ISO to USB tool: Download the official Microsoft Windows 7 ISO to USB tool from here. The Windows 7 ISO to USB tool will help in conveniently copying the Windows 7 ISO file to the USB drive.
- Get a Windows 7 Product Key: In order to enable all the features and functionalities of the Windows 7 operating system, you will need to have a Windows 7 product key. You can use your existing Windows 7 product key, provided that it is not an OEM key.
- Create a Partition of your Computer Hard Drive: If you wish to run Windows 7 parallelly with the current OS that is running on your computer, then you need to create a new partition in your computer hard drive and then select the new partition while following the steps below to install Windows 7 from USB. Make sure that the partition you create has at least 50GB of disk space capacity.
How to Install Windows 7 from USB?
Below is the step-by-step guide you need to follow in order to install Windows 7 from USB.
- First of all, download the official Windows 7 ISO file from here. Make sure to download the 64-bit version of Windows 7.
- Insert the USB drive on to your computer.
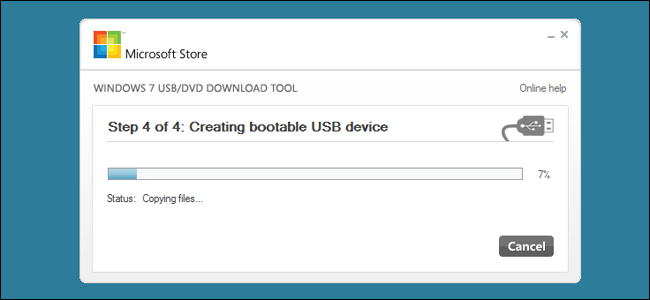
- Launch the Windows 7 ISO to USB tool that you downloaded during the prerequisites step above.
- Within the Windows 7 ISO to USB tool, click on the “Browse” button and then select the Windows 7 ISO file that you downloaded.
- Click on the “Next” button within the Windows 7 ISO to USB tool.
- If prompted, select your USB drive from the list of storage options displayed on the screen.
- Click on the “Begin copying” button to copy Windows 7 ISO to USB.
- When asked for, click on the option that says “Erase USB” and then confirm the selection.
- Wait for the Windows 7 ISO to USB copying to complete.

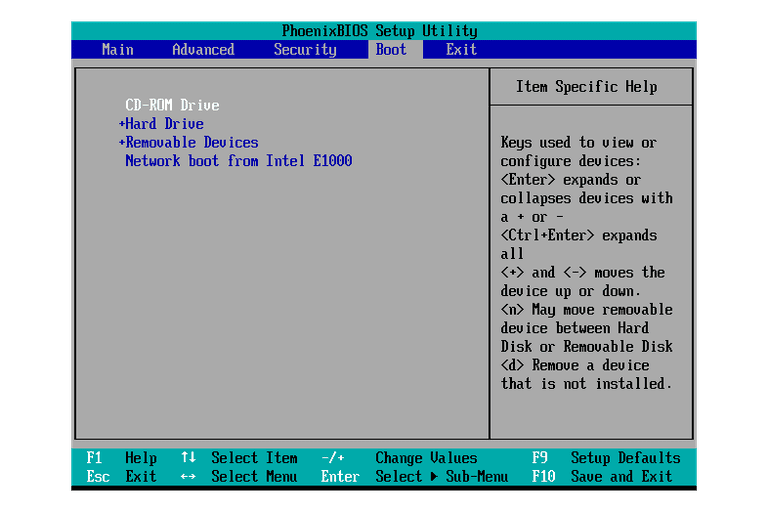
- Now, reboot your computer into the BIOS mode (BIOS mode sequence varies depending on manufacturer).
- When the BIOS menu is displayed, find the section that says “Boot Order” and then select your USB drive and move it to the top of the list displayed.

- Save and exit BIOS mode.
- Restart your computer in normal mode.
- The Windows 7 ISO file will now run automatically.
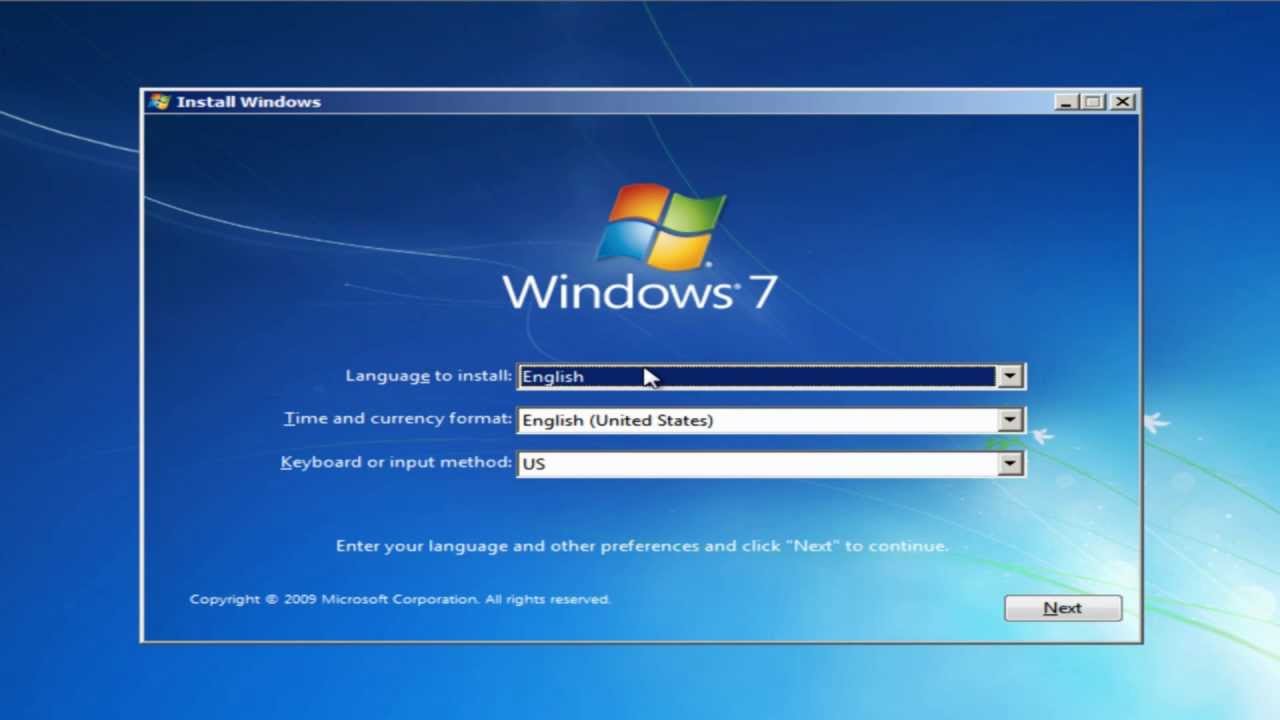
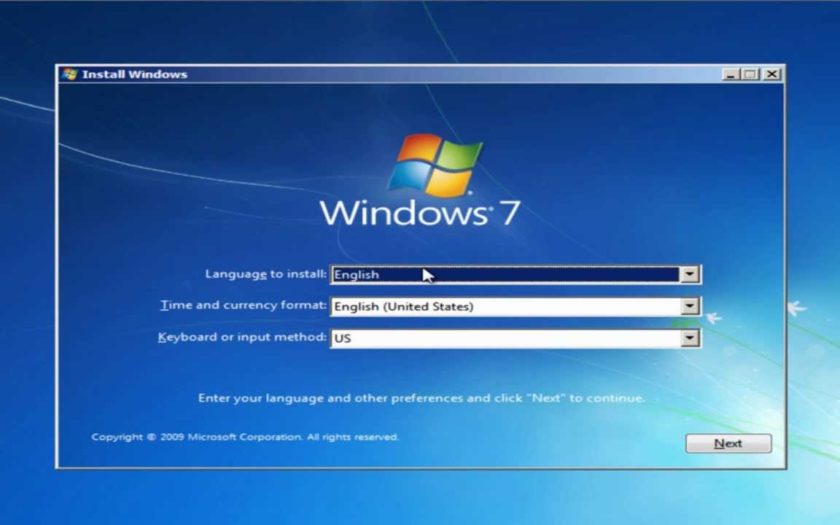
- Follow through the on-screen instructions to install Windows 7 on your computer.
- When asked for, enter the product key to activate your copy of Windows 7.
And that is it. You have now finished the procedures to install Windows 7 from USB.
Final Words
We hope you found the above tutorial on how to copy Windows 7 ISO to USB and install Windows 7 from USB helpful.
In case you have any queries on how to install Windows 7 from USB or Windows 7 ISO file, then feel free to reach us by leaving a comment below.

